Great! So, you’ve created an account and want to be a Host!
If you haven't already created your account, click here and follow the onscreen registration instructions.
For a full detailed tutorial on registering as a Host, see our article: How to register as a Host.
Now, here’s how to add your digs.
1. Before adding any digs to your profile you first need to make sure that you're logged in. Go to the Host login page by clicking the 'Hosts' button at the bottom of your screen, or by clicking here.

Then, enter your email & password and click 'Login'.

2. On the bottom of your screen, you will see the 'Digs' button. Click on this to begin listing your Digs.

3. You will be greeted by this message. Click 'Add Digs' to start entering your listing details.

4. Now you can start entering your details! First, begin by adding a name for your Digs.
Please note that there is a limit of 90 characters for the digs name (we recommend that you keep your digs name short and punchy).
Next you can choose the type of accommodation you offer.

Then add your address - you can also add your address manually if you wish.

Once your address is added click on the green 'Create Digs' button under the address.

5. On the next page you will see a list of sections which you can complete by clicking on the 'Add' or 'Edit' boxes:

The Description section of your Digs is really important, so we have divided it into three segments:
The area and transport:

The parking available:

And finally the digs description.

Once you've added all three, click 'Save'.
6. On the next section 'Features', click on the cross next to select any amenities in your Digs' common areas that apply to your listing.

Click on the 'save' button at the bottom to add these!

7. The next section 'Shared and Excluded Facilities' is where you can add information on any exclusive, shared or excluded facilities in your Digs. Since your Digs are self contained, in this section tick the box 'Guests do not share these Digs with others'. Once you have completed this section, scroll down and click on the 'Save' button.

8. Next click on 'Rooms' to add details of the bedrooms:

Scroll down to add a name to your room. Again, it's good to keep it short and snappy.

Then, select the number of Guests that can stay in this room.

Then select the bed type(s) by clicking on the plus sign next to the correct option.

Next, select the primary Bathroom for this room by clicking on the circular radio button:

Then select your room features by clicking on the cross next to any amenities available with your room.

Click the 'Save' button at the bottom.

9. Then add your prices for your Guests, and then click 'Save'. To see more details see our pricing help article: How do I set my Pricing.

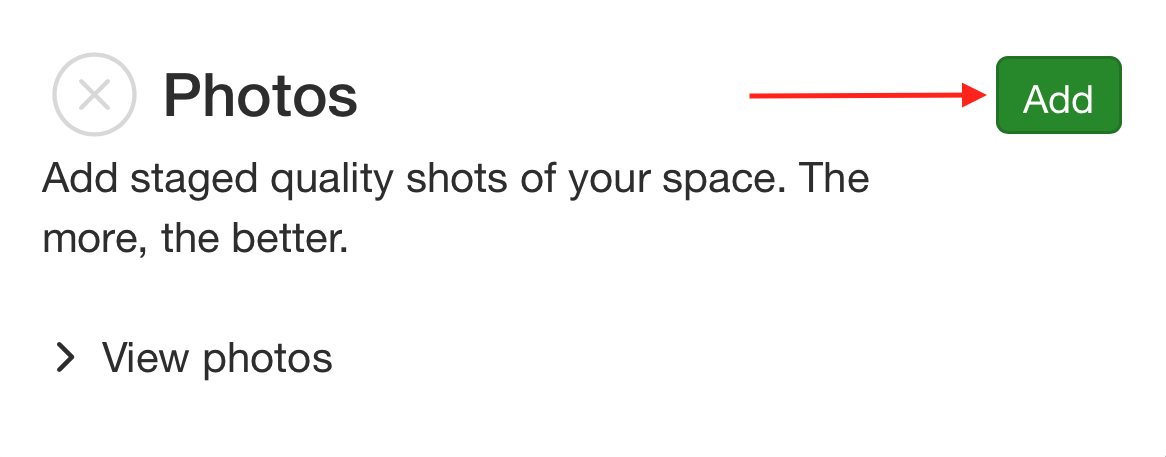
10. To move on to add your photos to your Digs, scroll down to 'Photos' and click on the green 'Add' button to begin. You can add up to 10 photos, landscape photos are best. Guest like to see lots of photos of your Digs. The first picture should be of your room/s.
Scroll and tap on the + sign

On the next page tap on the + sign.

Then tap on 'Photo Library' if you have already taken the photos. Alternatively, tap 'Take Photo' to snap a quick pic.

Locate and select the photos you want and then tap 'Upload' - you can upload up to 10 photos.

That's it! You’ve uploaded your photos and they are now online for people to view. Why not tap the back arrow at the top of your screen:

and then 'Preview' to see how it looks?

11. The next section is 'House Rules'. Again, to move on to add your house rules to your Digs, scroll to the top of your screen click on the down arrow in 'Manage Digs' and select 'View all Digs', then click on 'Details'.

Here you can add check-in/out times, your rules on Guests: smoking/vaping, bringing pets, bringing visitors, details of allergens or intollerances you may have for Guests to be aware of, and any other rules you may want to add. Once added just tap the green 'Save' button at the bottom.
12. The next section is all about your Digs' suitability for Guests.
To complete this, scroll down and select 'Add' in the Suitability section.

Here you can add information about yourself and others living in the Digs regarding: smoking, if you have any pets, whether you have any dietary requirements in your house, accessibility, and child friendliness. Once added just tap the green 'Save' button at the bottom.
13. The next section is all about useful check-in information for your Guests.
To complete this, scroll down and select 'Add' in the Check-in and Arrival section.

Here you can add any information which will be shown to Guests 1 day before their check-in. This includes: how to find your property, a back up contact number incase you are uncontactable, how to use heating etc, good local knowledge, parking information and anything else which will be useful to the Guest on arrival. Once added just tap the green 'Save' button at the bottom.
14. Next scroll down to the Health and Safety section and select 'Add'.

This next section is all about Health and Safety measures you have in your Digs. Just click on the cross next to any measures you have, then enter any additional measures which you would like your Guests to know about, which fit your Digs and click 'Next':

Once completed, just tap the green 'Save' button at the bottom.
15. The next page is to find out about Gas Safety in your Digs.
Select the appropriate 'Yes' or 'No', to whether the premises is connected to a gas supply, as well as whether the safety certificate is on display at the property.
You can also add the expiry date if you would like although this is optional.

16. The last section 'Settings' is where you can add your minimum stay, and Guest type you accept bookings from.

Once completed, just tap the green 'Save' button at the bottom.
Congratulations! Your Digs can now be booked and you will see this message:

To see where you can improve your listing click on the 'More' button at the bottom of the page, then on the next page click on the word 'Status' to make improvements and ultimately get more bookings.
Top Tip! A red dot is an indication that an action is required by you. To view this, simply click on the icons which have the red dot!


Finally, you just need to update your calendar. You can click on the 'Calendar' button at the bottom in the middle of your mobile view to go to your calendar. You can click here to see our full calendar tutorial.
That's it! You have completed your digs listing. To double-check your digs listing, just click ‘Preview’ from your digs page.
Why not use our handy Host's Checklist to make sure you have everything optimised to ensure the maximum amount of bookings?
Once you’re happy just log out or quit your internet browser.
If you have any questions please visit our Help Centre
Was this article helpful?
That’s Great!
Thank you for your feedback
Sorry! We couldn't be helpful
Thank you for your feedback
Feedback sent
We appreciate your effort and will try to fix the article